Additive tool manufacturing
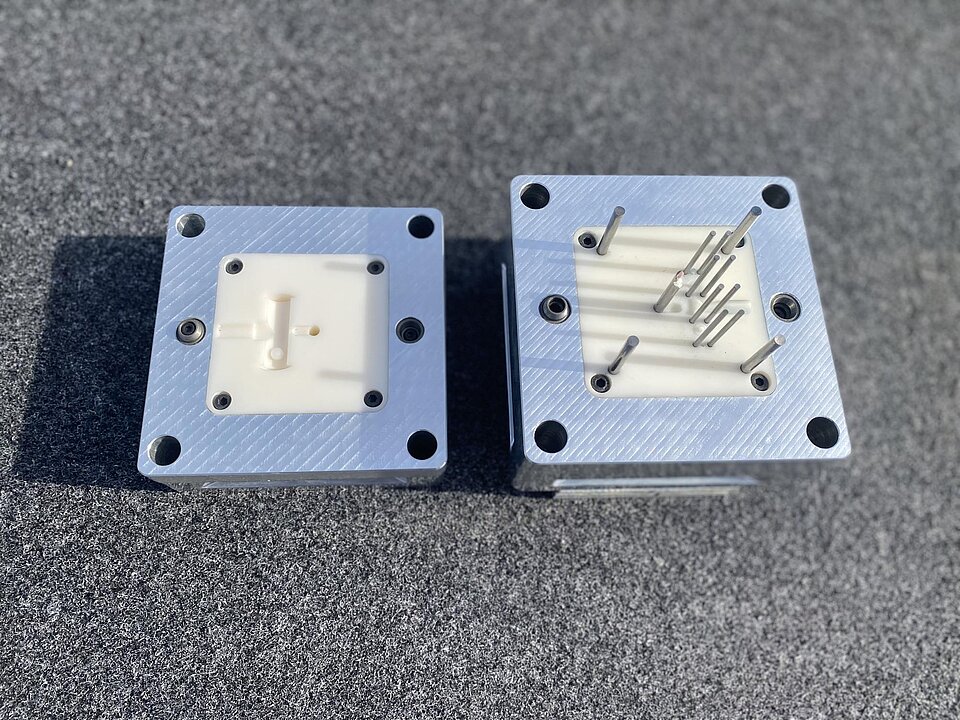
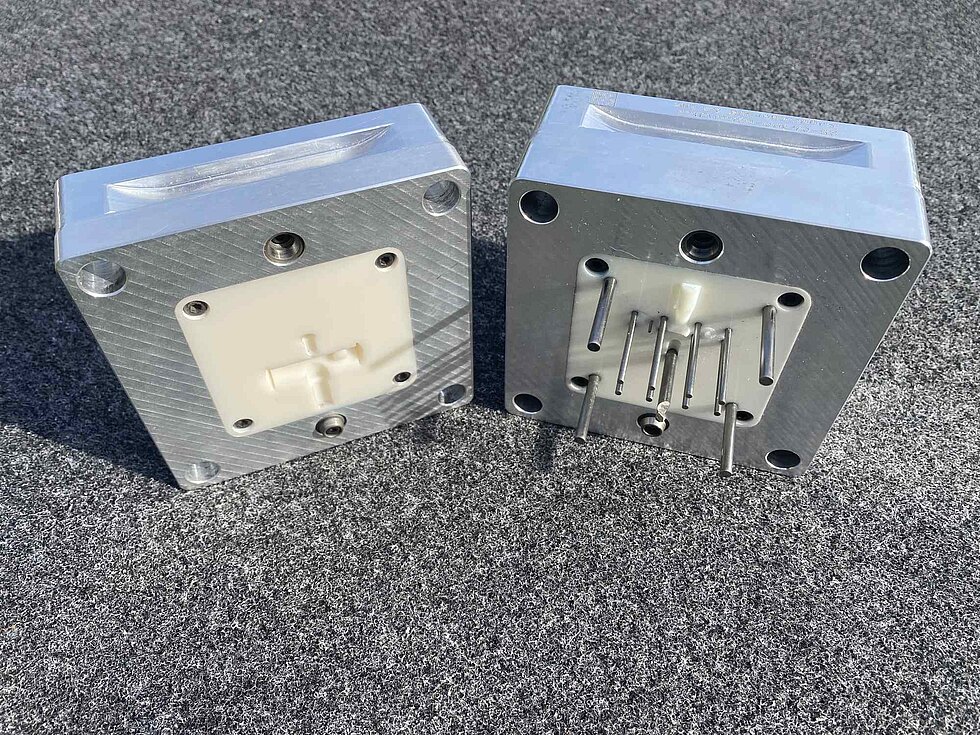
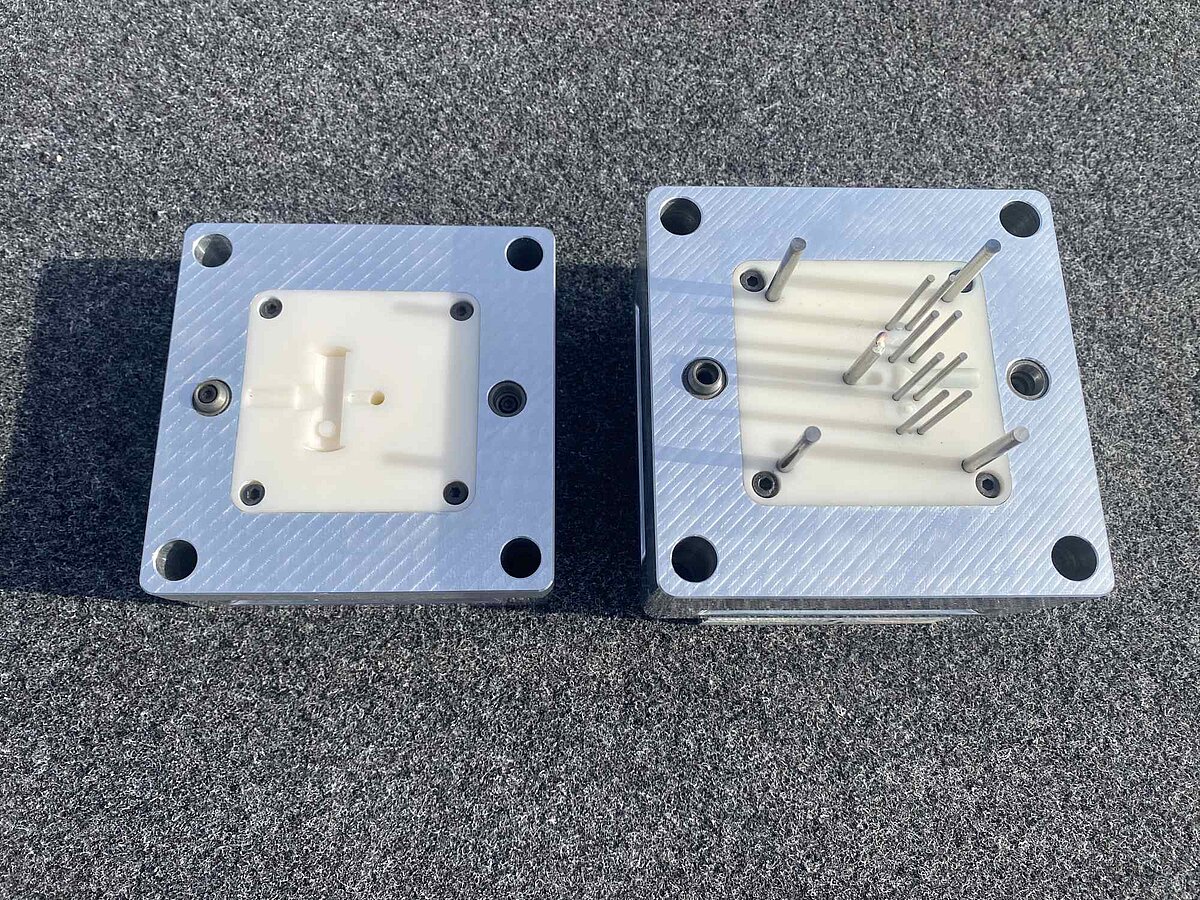
Testing 3D-printed mould insertsVarious processes are available for the manufacture of plastic parts. In small-batch injection moulding , we use aluminium moulds, which enable the production of hundreds to tens of thousands of plastic parts. For the flexible and rapid production of a small number of plastic parts or plastic prototypes, additive manufacturing using 3D printing be a suitable option.
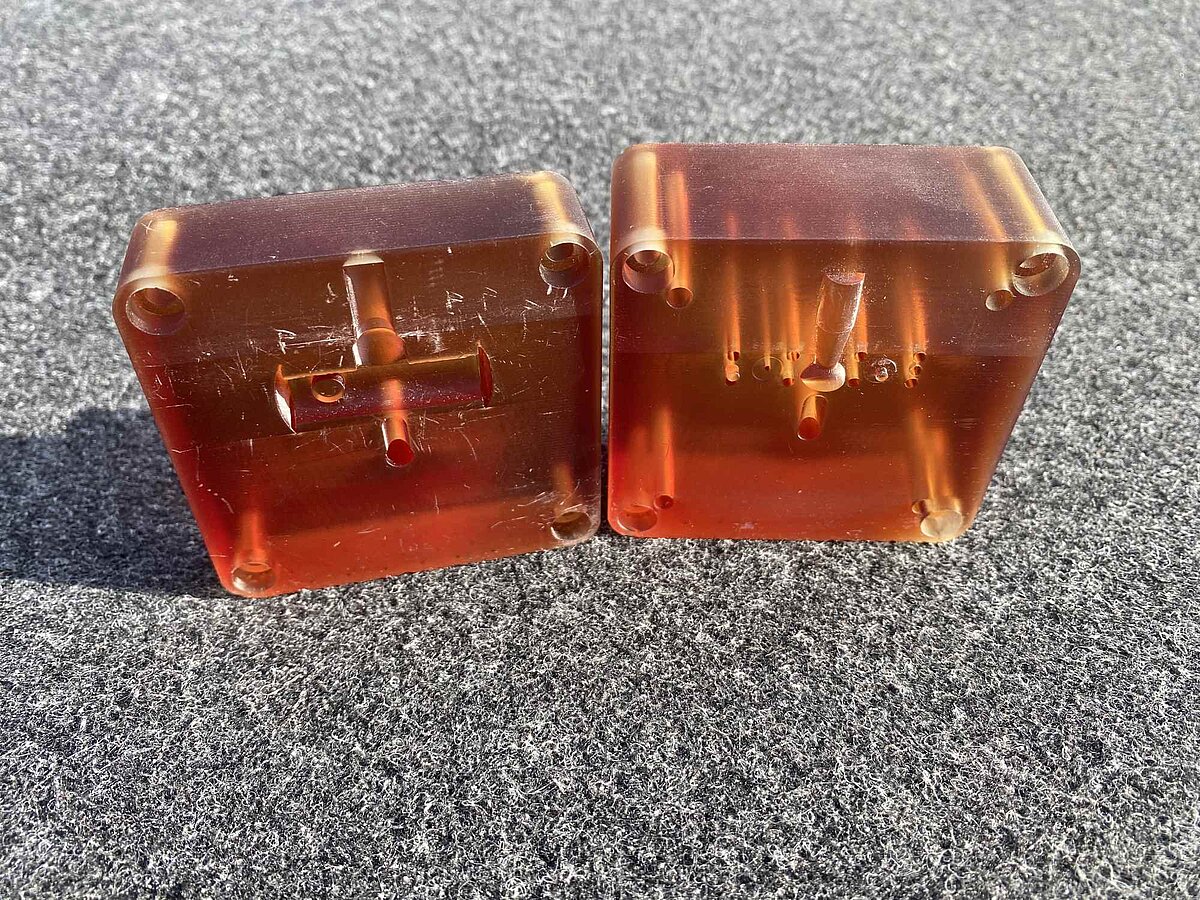
But what happens when you combine the two? 3D-printed mould inserts are the subject of heated debate. It almost sounds too good to be true: instead of high initial production costs for an aluminium mould, you simply need to produce the appropriate mould insert using a 3D printer, and you’re ready to start manufacturing the plastic parts cost-effectively.
Does it really work? How cost-effective can the production of plastic parts be using a mould from a 3D printer?
A financial comparison of processes for plastic parts
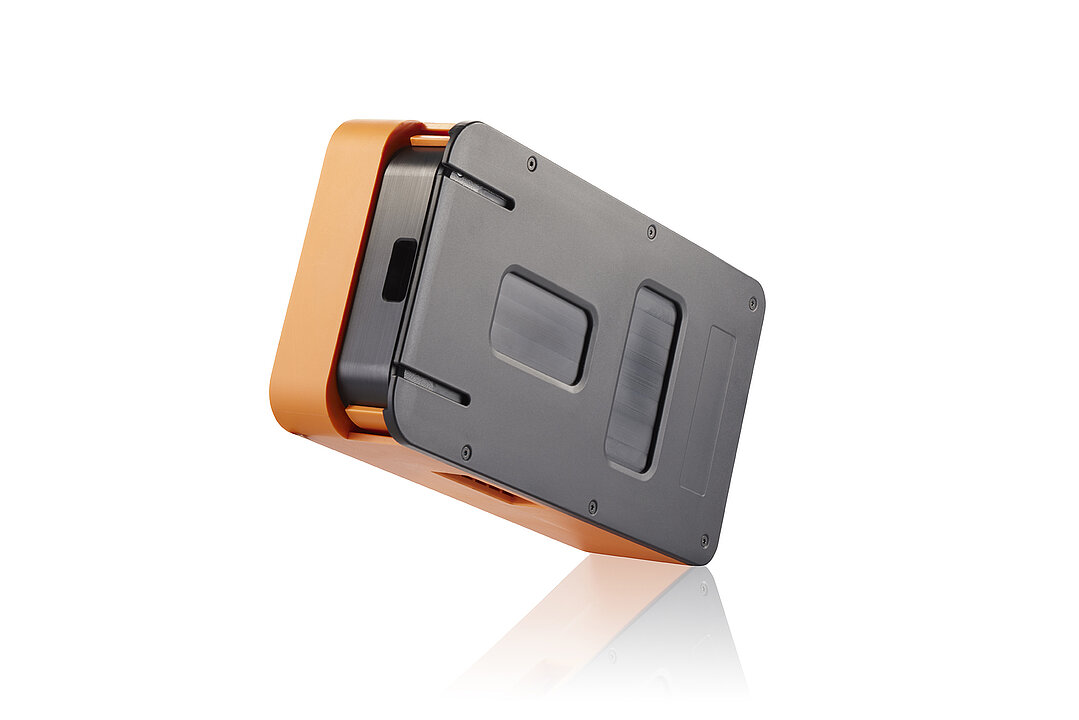
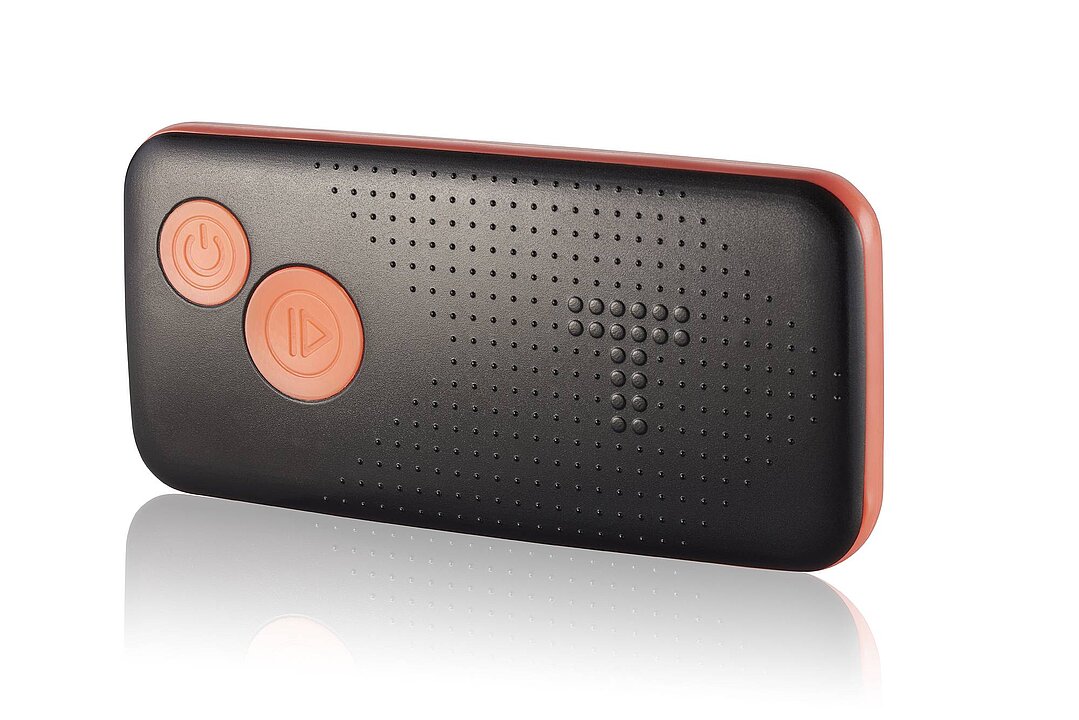
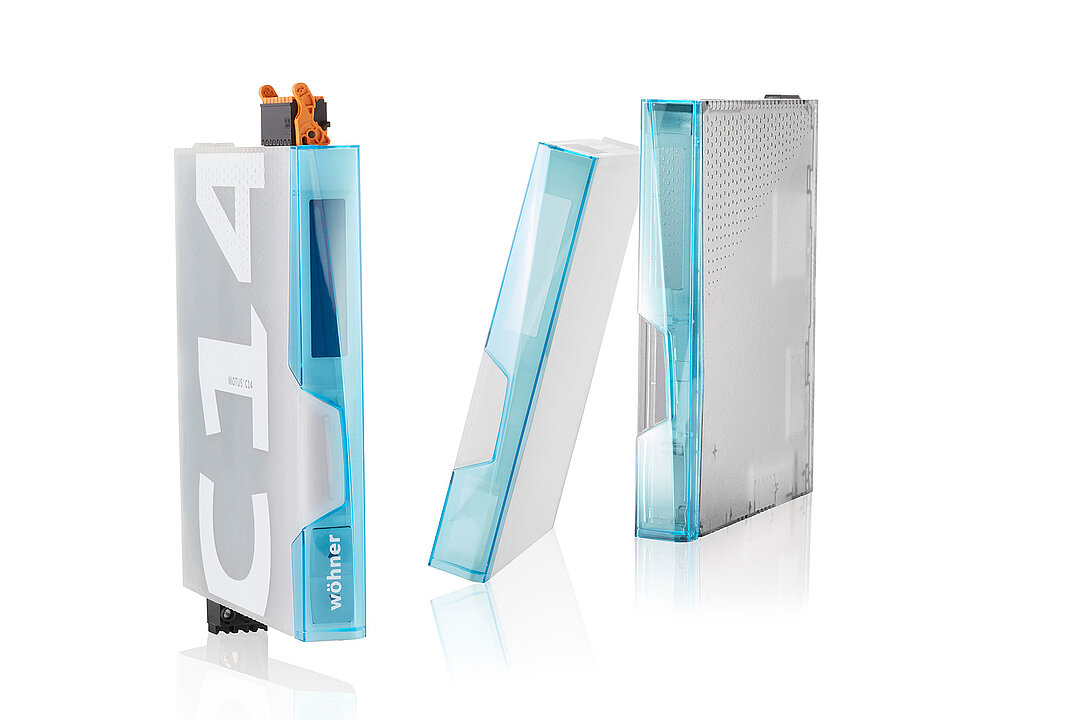
We were so preoccupied with this question that we carried out a pilot project. Using the example of an inventory for the Knapsack , we wanted to find out exactly which method is the most efficient: small-batch injection moulding using aluminium moulds? Plastic parts from a 3D printer? Or ‘the best of both worlds’ – production using a mould manufactured on a 3D printer?
In our field trial, we wanted to find out exactly: how much does each method cost? From what quantity of parts does 3D printing become viable? Does producing a mould using a 3D printer save costs and time? For which applications is small-batch injection moulding with conventional aluminium mould inserts relevant?
Component produced by a 3D printer (additive manufacturing)
Initial cost for the first component: approx. €50
Cost for each additional component: approx. €2.50
Costs consist of:
- Material costs
- Machinery costs (maintenance and operation = production time = component yield)
- Re-working (finishing) and packaging
- Fixed costs (programming / set-up / dispatch)
Component from the 3D printing toolkit
Initial costs for the first component: approx. €2,240
Cost per additional component: approx. €4.90 from approx. 1,500 components
(Assumption: the mould was already worn out after 60 components)
Tool production time using SLA: 16.66 hours
Costs comprise:
- Material costs (mould making)
- Labour costs (mould making)
- Machine costs (3D printing) (maintenance, operation = production time = moulded part resolution)
- Machine costs (mould frame)
- Labour time for assembly (toolmaking)
- Machine costs (injection moulding) (running costs / production cycle time)
- Material costs (component)
- Re-working (finishing) and packaging
- Fixed costs (programming / set-up / dispatch)
Component from the aluminium die
Initial cost for the first component: approx. €2,470
Cost per additional component: approx. €2.20 from approx. 1,500 components, less than €1 for more than 6,000 components
Production time for the aluminium mould: 17 hours
Costs consist of:
- Material costs (mould making)
- Labour costs (mould making)
- Machine costs (mould making)
- Labour time for set-up (mould making)
- Machinery costs (injection moulding) (operating costs / production cycle time)
- Material costs (component)
- Re-working (finishing) and packaging
- Fixed costs (programming / set-up / dispatch)


A technical comparison of manufacturing processes for plastic parts
Findings from the manufacture and machining of SLA inserts
- The alignment of the insert in the 3D printer is of great importance, for example with regard to the flatness of the inserts.
- The inserts must be post-annealed. There is a risk of warping during this process!
- In some cases, the Accura HPC material delivered the best results in terms of surface hardness, accuracy and thermal resistance. Difficulties arise during post-processing. Only high-quality diamond files are suitable for this purpose. Wet machining is not possible, as the material ‘swells’ on contact with water.
- The contour of the SLA inserts must be very precise to ensure they fit smoothly into the mould frame and guarantee a clean contact pattern.
- The edge stability of the plastic insert is not as high as that of an aluminium insert.
- The additively manufactured mould insert is not yet complete after the printing process.
Injection moulding with 3D-printed tool inserts
- Processing of standard materials is possible, subject to certain limitations.
- Materials should be used that can be processed at low injection pressures and do not require high processing temperatures, e.g. PP, PE, ABS, ASA, POM, etc.
- The contour of the component should be relatively ‘simple’ rather than complex. To avoid movable mould elements that are prone to breakage, simple ‘open/close’ moulds are required.
- The injection moulding process usually needs to be adapted to the mould material – not primarily to the injection-moulded plastic being processed!
- Where injection and holding pressures are predominantly low, it must be assumed that the materials will not achieve their full mechanical strength values.
- The long cooling times required can cause the thermoplastic to degrade during this extended dwell time in the injection moulding machine’s screw.
- The maximum output is very severely limited compared with aluminium mould inserts (~ 100 shots).
How suitable are tools produced by a 3D printer for plastic injection moulding?
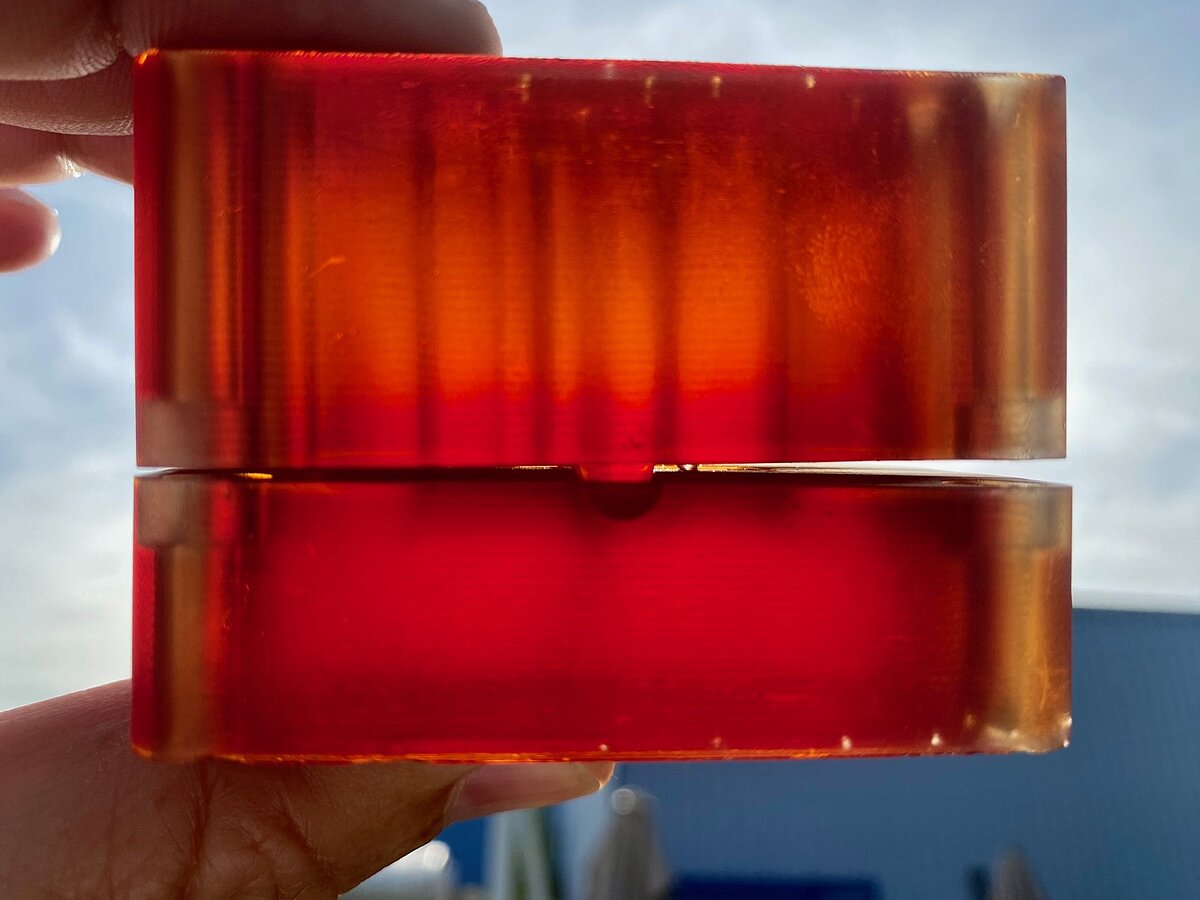
Our field trial has shown that the production of plastic parts using an additively manufactured mould insert can be the right solution for certain requirements and small batch sizes. The possibility of using original materials is a major advantage, particularly when compared with additively manufactured plastic parts produced on a 3D printer.
By contrast, there are clear disadvantages compared with conventional small-batch injection moulding using aluminium moulds:
- significantly longer production time per plastic part
- A run-in phase involving 50–70 components that cannot be used is required
- once the run-in phase is complete, it is possible that the 3D-printed mould can no longer be used
- significantly shorter service life of the 3D-printed mould
- virtually no profitability due to equally high initial costs and production times
No break-even with 3D tools
In our trial, the break-even point was 1,250 components. Above this quantity, small-batch injection moulding using aluminium moulds proved more cost-effective than additive manufacturing via 3D printing.
The mould produced by the 3D printer was already unusable after around 60 parts – despite the costs and production times being almost identical to those of the aluminium mould. Economically speaking, therefore, it was not possible to break even using the 3D-printed mould.
In our experience, it is therefore worth opting directly for the production of injection-moulded parts using aluminium moulds. This is because the aluminium mould lasted significantly longer than the mould insert produced by the 3D printer. In the case of the 3D-printed insert, many further steps are required after its manufacture to convert it into a functional mould.
Is a 3D tool worth it?
Would you like to know whether a 3D-printed mould is a viable option for your project ? Or whether you should opt for small-batch injection moulding using conventional aluminium moulds, or whether additive manufacturing might be an option?
Get in touch!
FAQ on 3D-printed tool inserts
Frequently Asked Questions and Answers3D-printed tool inserts are regarded in many sectors as an innovative solution for the rapid production of plastic components. In practice, however, it is evident that additive tooling is not economically or technically viable for every application.
The following questions address the key differences between 3D-printed mould inserts and conventional aluminium moulds in rapid tooling – based on our real-world experience in injection moulding.
3D-printed tool inserts may be a viable option for very simple geometries or individual prototype parts . However, as soon as higher production volumes, consistent quality or robust mass-production conditions are required, additive tool inserts often reach their limits.
The achievable service life depends heavily on the material, component geometry and load. In the application studied, the 3D-printed tool insert was no longer usable after around 60 components .
Typical disadvantages include a short tool life, burr formation, limited surface quality and a high level of re-machining required. Furthermore, Probleme during contact or thermal stresses can compromise process reliability.
Rapid tooling offers greater process reliability, better surface finishes, longer tool life and consistent component quality. In addition, textured or polished cavities are possible, enabling the production of even visually sophisticated plastic parts.
In rapid tooling, a real injection moulding tool is manufactured from aluminium to produce plastic parts that are close to production quality. Additive tooling, on the other hand, uses 3D-printed tool inserts, which generally have a shorter service life and are subject to limitations in terms of load-bearing capacity and precision.
Aluminium moulds enable the production of near-series plastic parts using original materials, with high dimensional accuracy and significantly improved process stability. At the same time, pre-series runs, functional parts and small-batch production can be carried out cost-effectively and within a short timeframe.
Yes. Aluminium moulds often offer a very good balance between mould costs, component quality and service life, particularly for pre-production runs, functional parts and small-batch production. Furthermore, the original materials can be processed under real production conditions.
Yes. Rapid tooling is used specifically to manufacture plastic parts under conditions that closely resemble those of mass production. This allows material properties, fits and load-bearing capacity to be tested realistically at an early stage.